
>Bypass charging function: when the unit off,it can be activated with bypass output and can charge the battery.
>High charging current,the max charging current can be 200A for IVPA10048 and 180A for IVPA7548,170A for IVPA5048,120A for IVPA3524.
>Wide range of AC input voltage:the range of AC input voltage can be 90-280V for IVPA7548 and IVPA10048,80-140V for IVPA5048 and IVPA3524.It can be better compatible with generator working.It is rare to have wide rang input voltage for the power frequency inverter.
>Electricity and battery priority is optional:customer can choose Electricity or battery priority according to their needs.
>Battery self-defined:customer can set the overcharge voltage and float voltage,and over-discharge voltage.
>50/60HZ compatible.
>Intelligent: Intelligent adjustment of over-discharge voltage,intelligent fine-tuning of over-discharge voltage according to the power of the load; intelligent cooling fan, intelligent adjustment of speed according to power and charging current and core temperature inside the machine.
>Safety: Safety design is upgraded overall. Comprehensive protection(Among them,transformer over-temperature protection is a leading design in the industry).
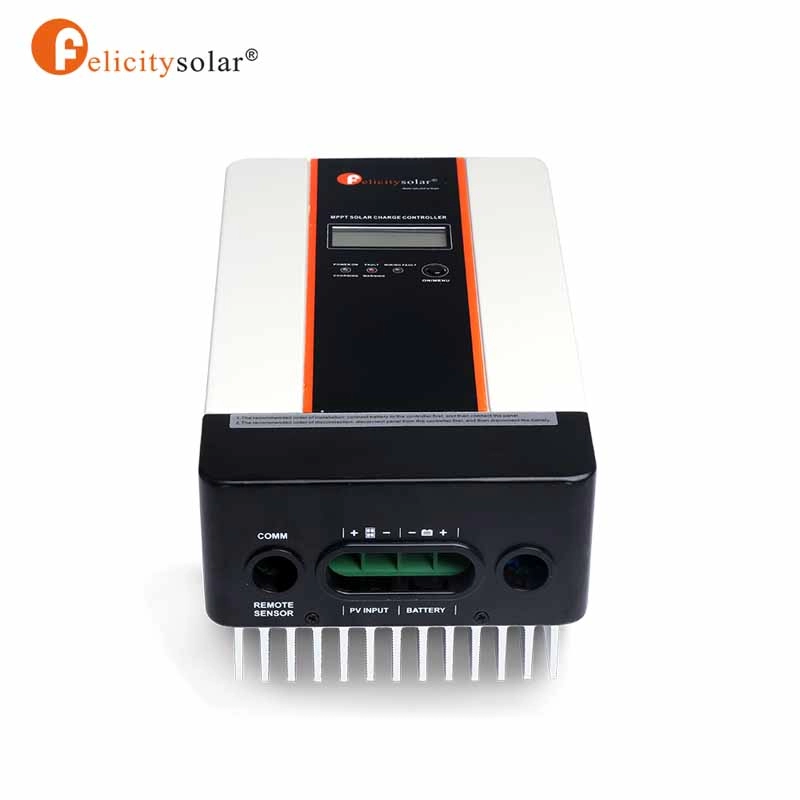
>Later it can communicate with our MPPT. And the electricity charging and solar charging can be managed comprehensively and scientifically.
Advantage:
1. Protect personal safety
2. Temperature compensation, protect battery
3. Battery overcharge, discharge protect
4. Inverter over load, output short circuit protect
5. Over temperature protect
6. Transposition protect
7. AC input, output over-current protect
8. Charge short circuit protect
Date Sheet
| Model | IVPA3524 | IVPA5048 | IVPA7548 | IVPA10048 |
| Rated Output Power(VA) | 3500VA | 5000VA | 7500VA | 10000VA |
| Rated Output Power(W) | 2800W | 4000W | 6000W | 8000W |
| Nominal DC Input Voltage | 24V | 48V | 48V | 48V |
| Input Voltage Waveform | Sinusoidal(Utility or generator) | |||
| Teriminal connection | L N | HOT1 HOT2 | ||
| Low Line Disconnect | 170Vac±7V(UPS) | 90Vac±7V(Appliances) | ||
| Low Line Re-connect AC Input Range | 180Vac±7V(UPS) | 100Vac±7V(Appliances) | ||
| High Line Disconnect | 280Vac±7V | |||
| High Line Re-connect | 270Vac±7V | |||
| Max AC Input Voltage | 280Vrms | |||
| Nominal Input Frequency | 50Hz/60Hz | |||
| Low Line Frequency Disconnect | 40±1Hz | |||
| Low Line Frequency Re-connect | 42±1Hz | |||
| High Line Frequency Disconnect | 65±1Hz | |||
| High Line Frequency Re-connect | 63±1Hz | |||
| Output Voltage Wave form | Synchronize with input voltage | |||
| Over-Load Protection(SMPS load) | Overcurrent protector | air switch protection | Overcurrent protector | air switch protection |
| Output Short Circuit Protection | Overcurrent protector | air switch protection | Overcurrent protector | air switch protection |
| Efficiency(Line mode) | ≥95% | |||
| Transfer Time (AC to DC) | 15ms (typical value) | |||
| Transfer Time (DC toAC) | 15ms (typical value)/30ms (special value) | |||
| Pass Through Without Battery | NO | |||
| Overcurrent Protector (grid) | 50A | 63A | 63A | 63A |
| Utility Charge Mode Specificati | ||||
| Nominal Input Voltage | 80- 140Vac | 90-280Vac | ||
| Input Voltage Range | Depends On The Battery Type | |||
| Nominal Output Voltage | 40A | 50A | 60A | 80A |
| Max Charge Current | 0-40A | 0-50A | 0-60A | 0-80A |
| Charge Current Regulation | Circuit breaker | |||
| Battery Initial Voltage | 50A | 63A | 63A | 63A |
| Charger Short Circuit | Dependent on battery type or self-defined | |||
| Breaker Size | YES | |||
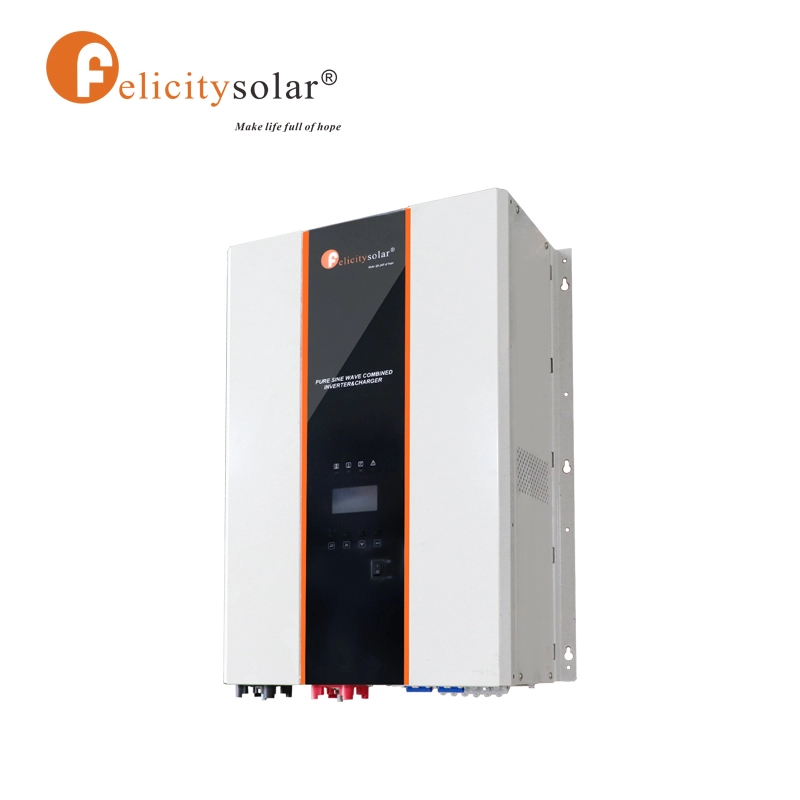
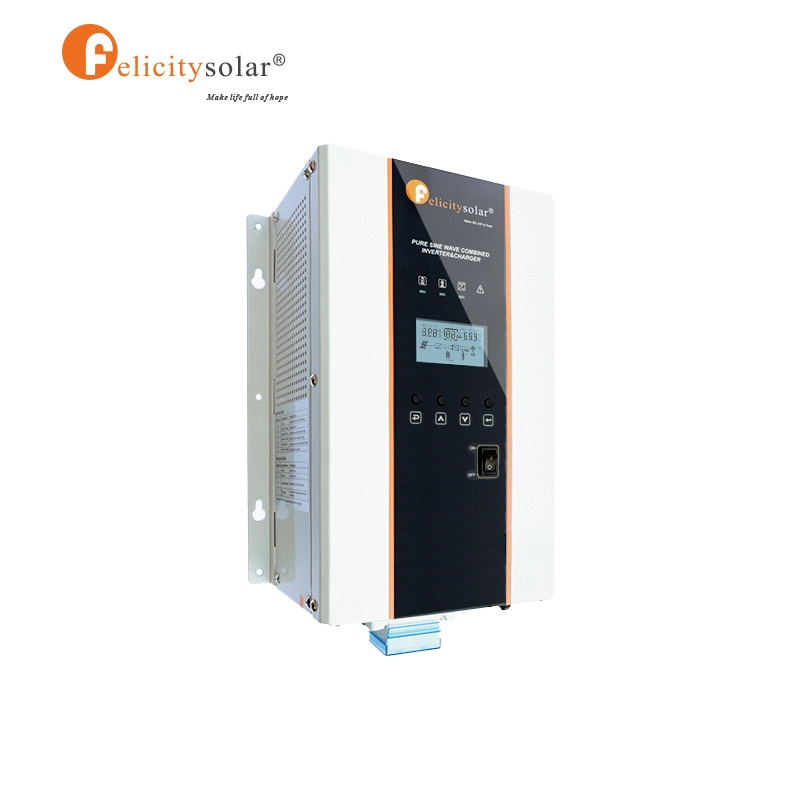
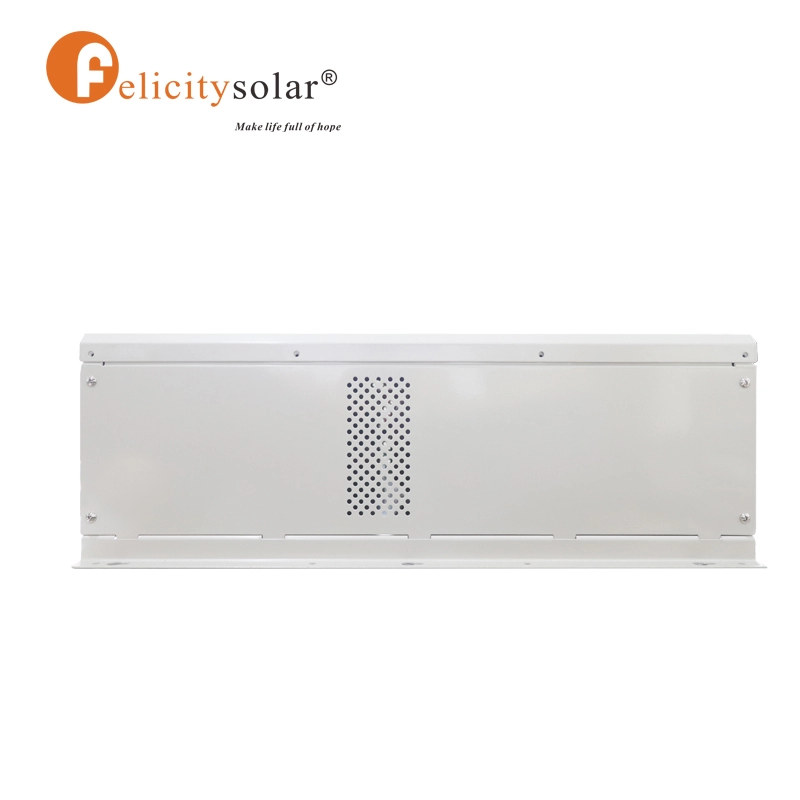
Product Detail


Installation Procedure:
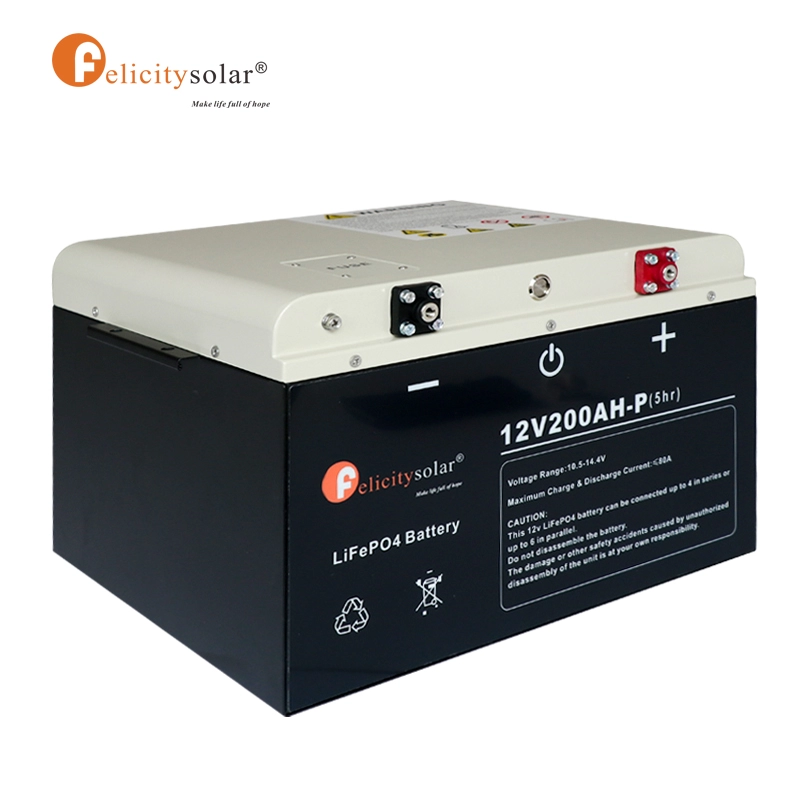
1. Insure the DC voltage of inverter in accordance with the battery voltage.
2. Insure the positive pole (red)of inverter connect with the positive pole (red) of battery, and the negative pole (black) of inverter connect with the negative pole (black) of battery, then tighten the screw.
3. Turn on the inverter and see if it is good, if good then turn off.
4. Connect with AC power / Ground wire, turn on the inverter and see if it is working normally (charge the battery, show charge current) if so, turn off the inverter.
5. Connect with the load/ground wire and turn on the inverter (Power saver auto or Power saver off ).
6. Turn on the Load.
Certification


Subscribe to our weekly newsletter and receive exclusive offers on products you love!
 X
X


 Gold Supplier

